Work Bench Notes-The Mighty Skew

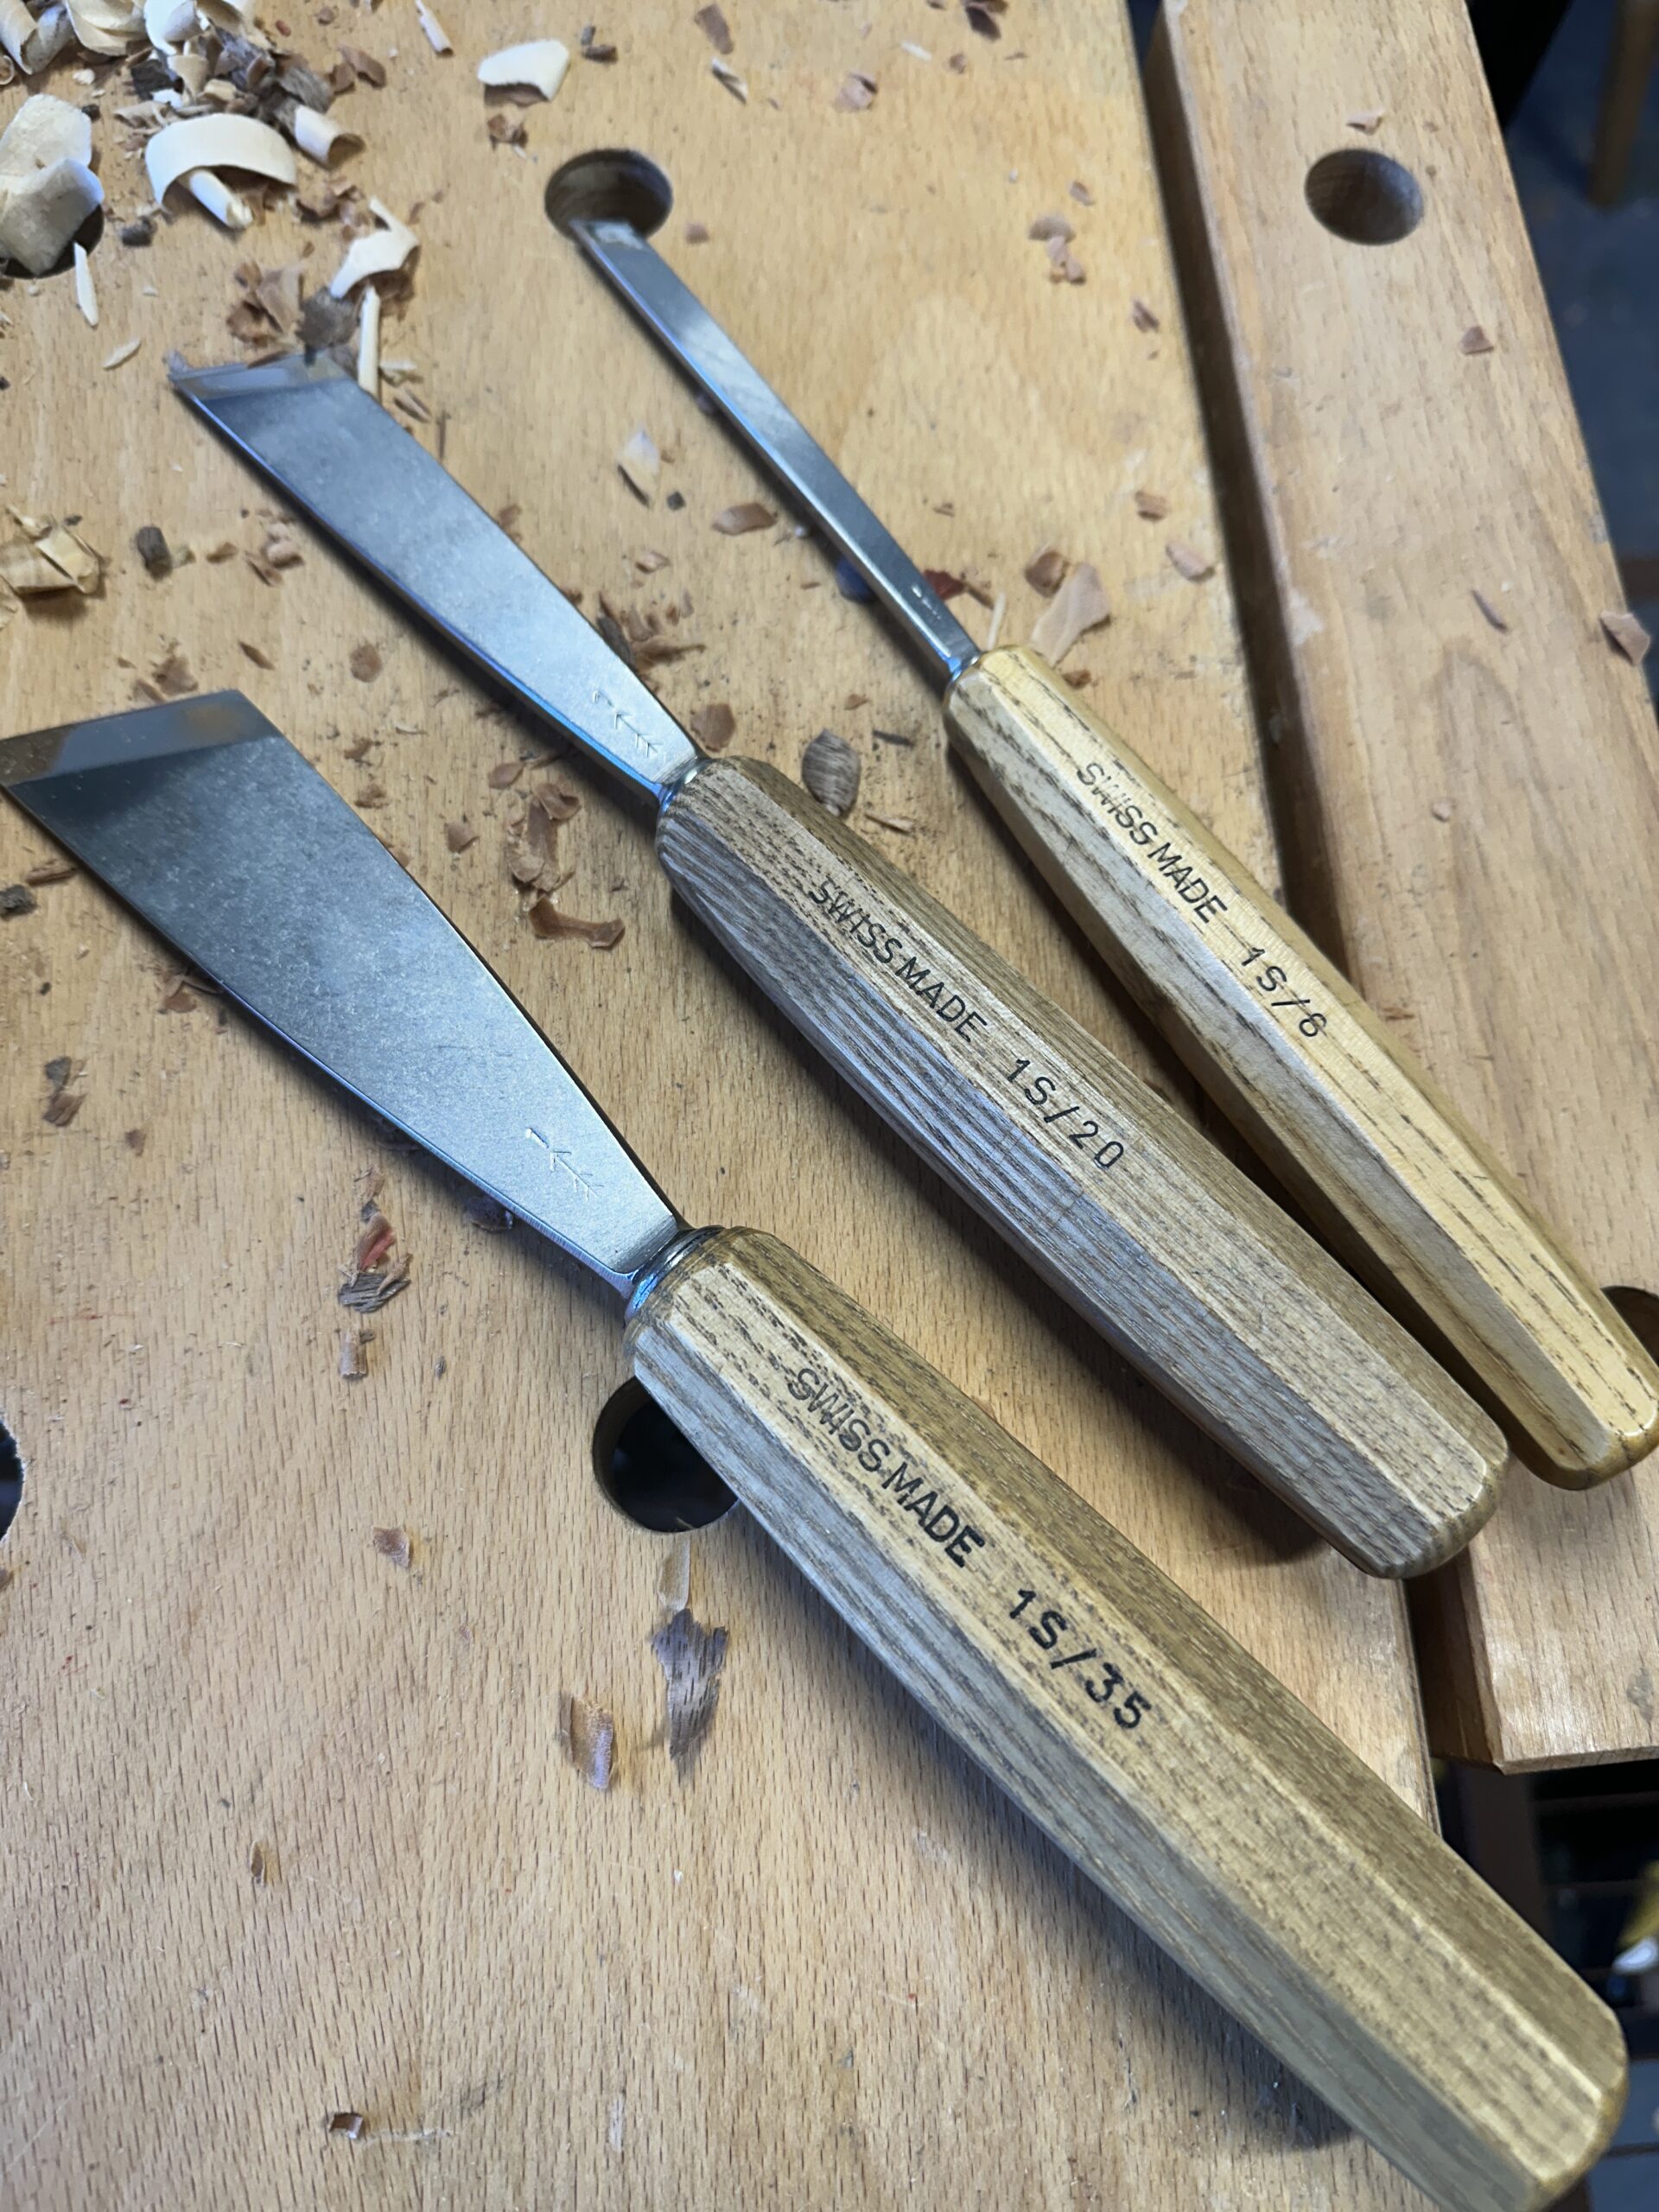
When I was at the Geisler Morodor Woodcarving school in Austria there was 40mm Skew in the student tool kit. I had never really used this tool before and after a week of carving with it I ordered a 20mm and 35mm skew for my personal tools. I am partial to the Swiss Pfiel tools mainly due the flats on the handle which stop it from rolling and the fact the steel is of such high quality. I wanted to visit the factory but they had limited tour windows that did not align with my time in the region. Maybe next time.

I am not a tool collector, but in this case it was incredibly useful despite the fact I laid my hand open on it in the first 90 minutes of class, but that is another story.

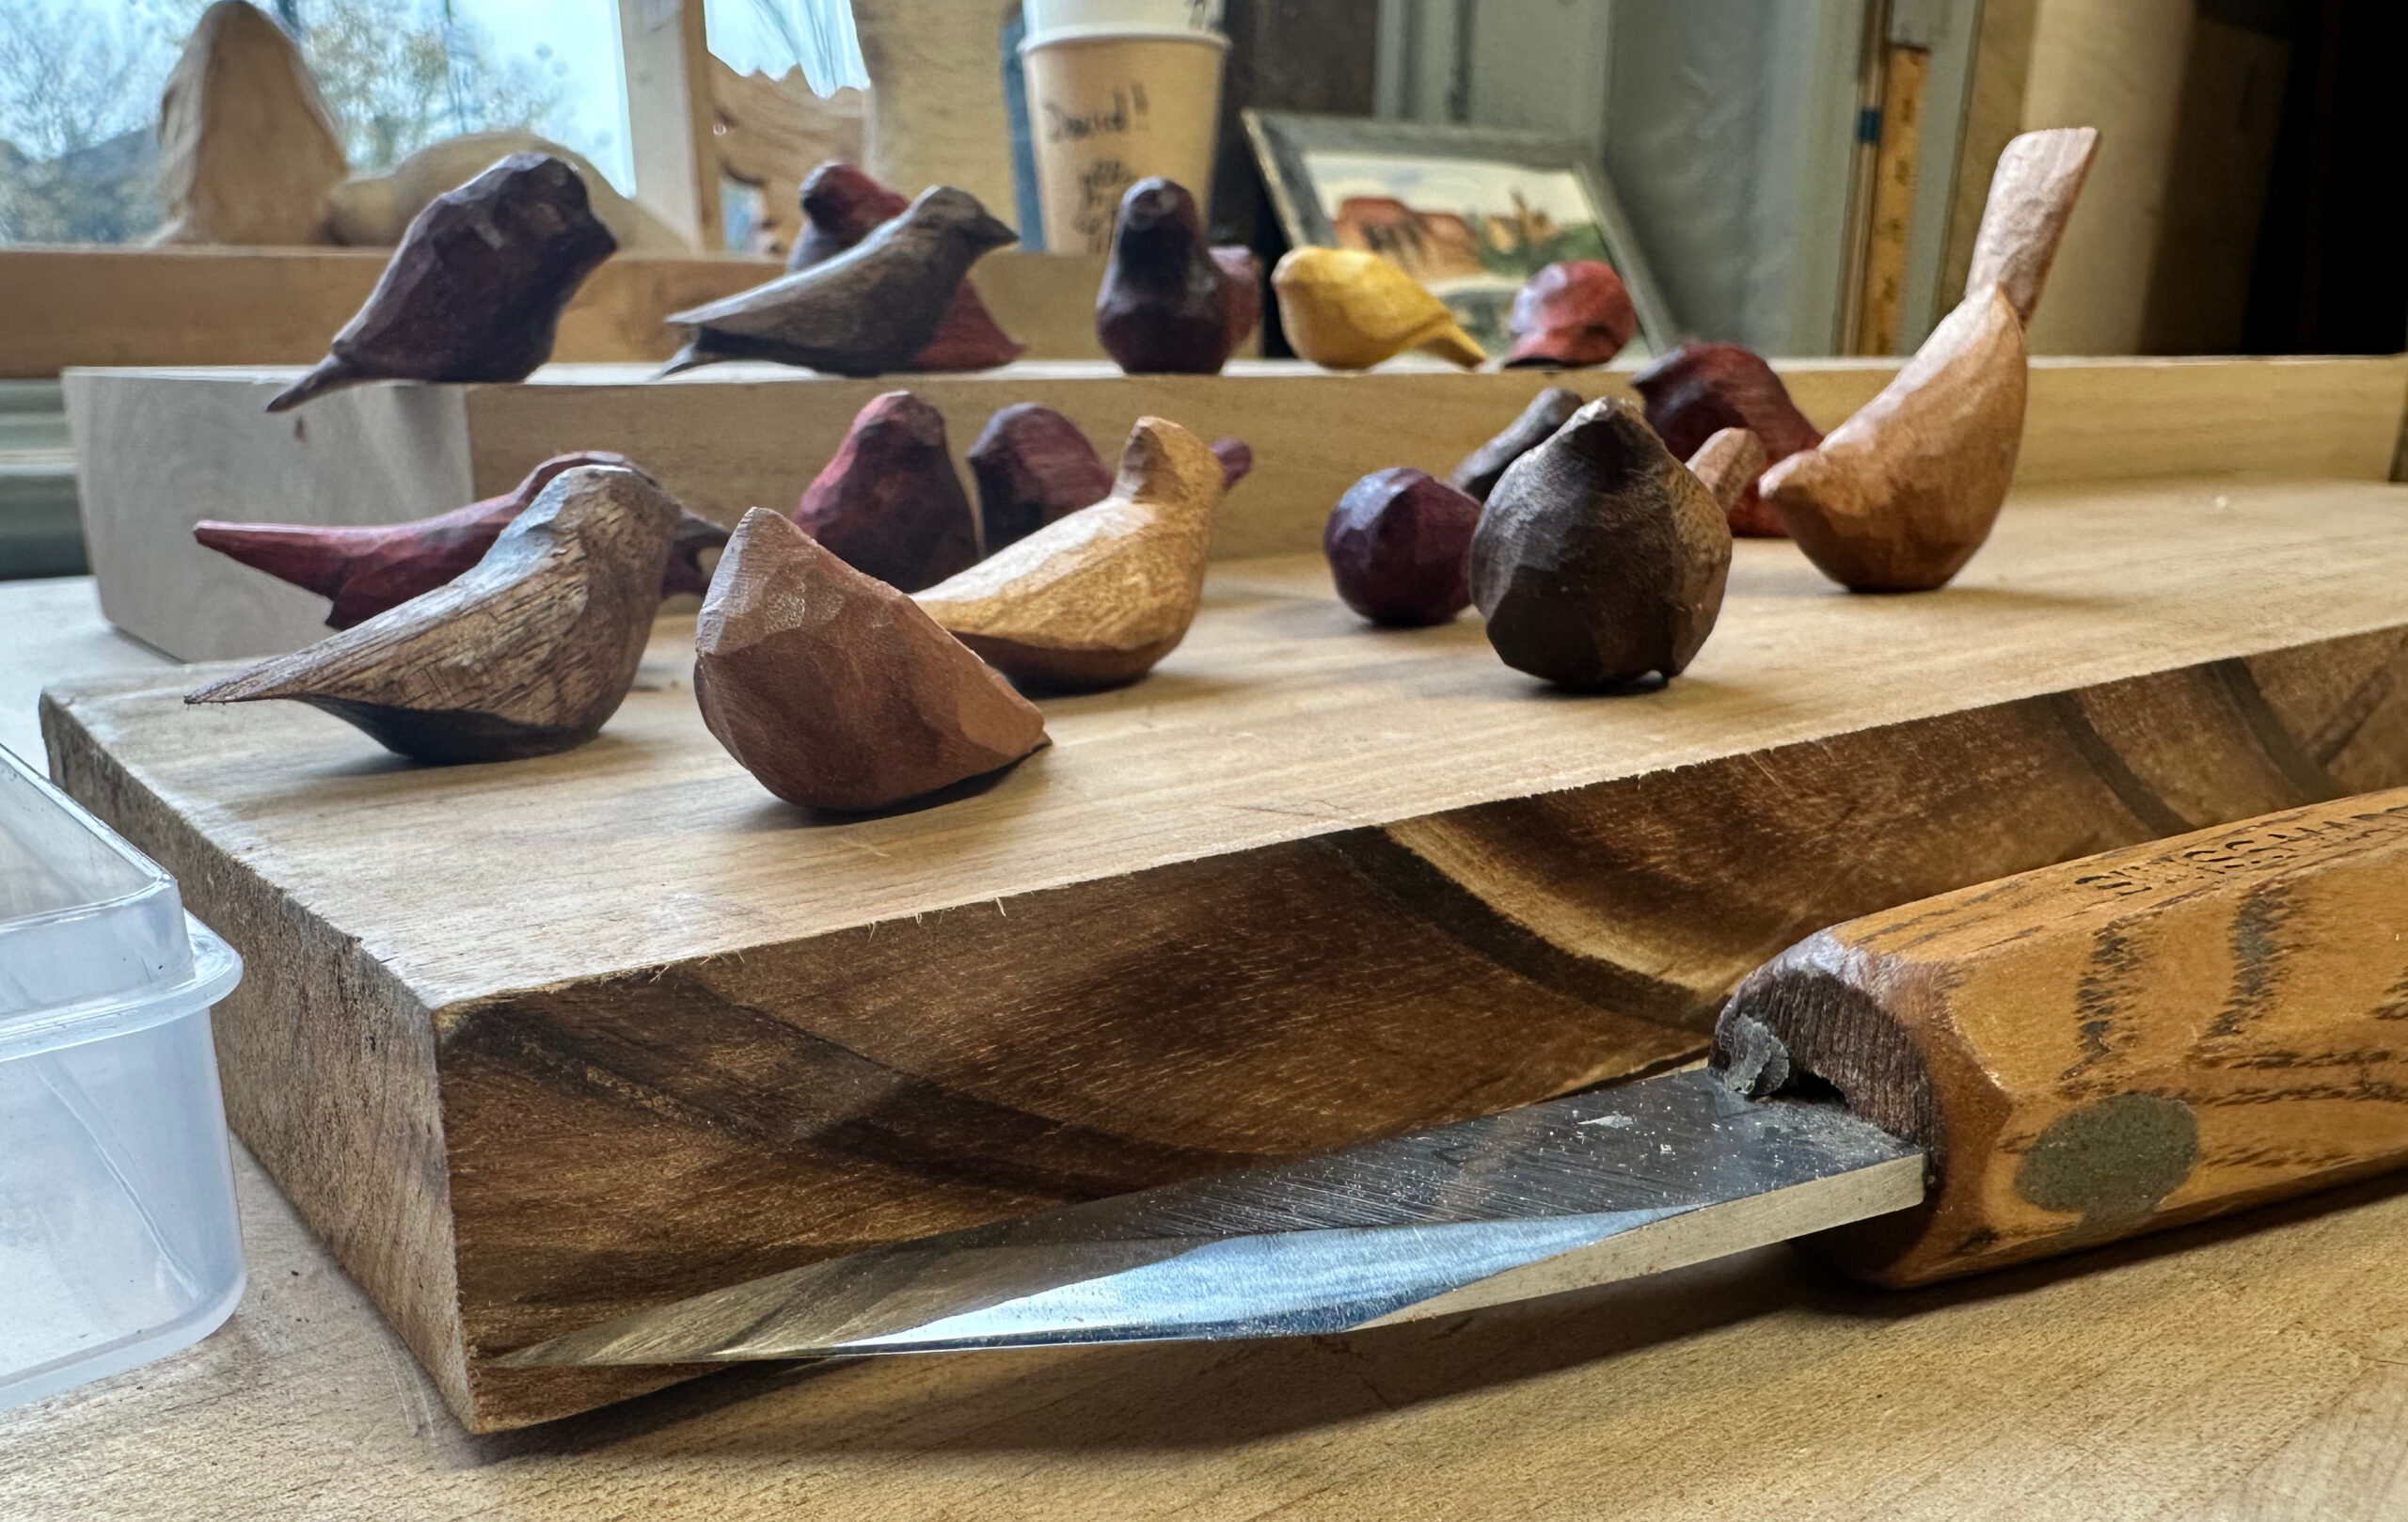
The skew is an incredibly versatile tool mainly due to the fact that it can execute a slicing cut much easier than a standard flat gouge. You can also align the tip into some pretty small spaces. It is also incredibly easy to sharpen. Literally lay it down with the bevel on the stone, move forward holding the bevel in place 5-8 times and repeat on the other side. Then hone the same way.

Small Animal Carvings

Work Bench Notes-Small Animal Carvings

Small Animal Carvings

I started carving these little animals to relax while sitting down and then found i really enjoyed making them. I typically give them away.

If you wish to make them i recommend starting a little larger with Basswood. Make sure to wear a carving glove to avoid adding DNA to your carving.

To make these start with start with a small block of wood with an interesting figure. I typically use walnut, cherry, redheart or purpleheart cut from 3/4′ pieces. Draw the design on the wood and cut to rough shape with a bandsaw or coping saw. This example is a penguin in Cherry Wood.

Next you begin carving with a knife or take some bigger cuts in the vise with larger tools. Notice how the base is left on the carving which gives you the ability to hold in it in a vise. I use the Benchcrafted Hi-vise (again not sponsored) to raise the work up and hold it securely. You could use any vise or clamp if you dont have a vise like this or even hold it in your hands.

I use the Pfiel Brienz Carving Knife (not sponsored) for carving these figure. The reason why is that you can do a slicing cut with it along the skewed blade shape. This cut is really important in carving. It will take practice, Use as much of the blade as possible and slide along the bevel to make the cut. Be wary of the grain and switch if your digging in too deep.. In addition this cut allows to work in harder woods.

Once the initial shaping is done add in details like wings and beaks using the Brienz knife, files or other small tools. At this scale I recommend small cuts to suggest detail. I don’t put eyes or other fine details in my carvings.

Finally separate the carving from the base. I use a home made beeswax to finish these carvings. Put on one coat then buff it so the carnuba can shine.

I don’t have an exact recipe but the following will get you there with some practice. heat Raw Linseed oil in mason jar in a double boiler. Add in beeswax and about 10% carnuba. Dip a spoon in the mix and once it cools if it looks like candle wax it is good to go. Once the mixture cools it should be the consistency of peanut butter. You can always reheat and add more beeswax or Raw linseed oil if needed.

Once you get started it is hard to stop and the design ideas are endless. I really like to make whales as well as the birds. I started setting these up on door frames and pictures at the day job for people to find.